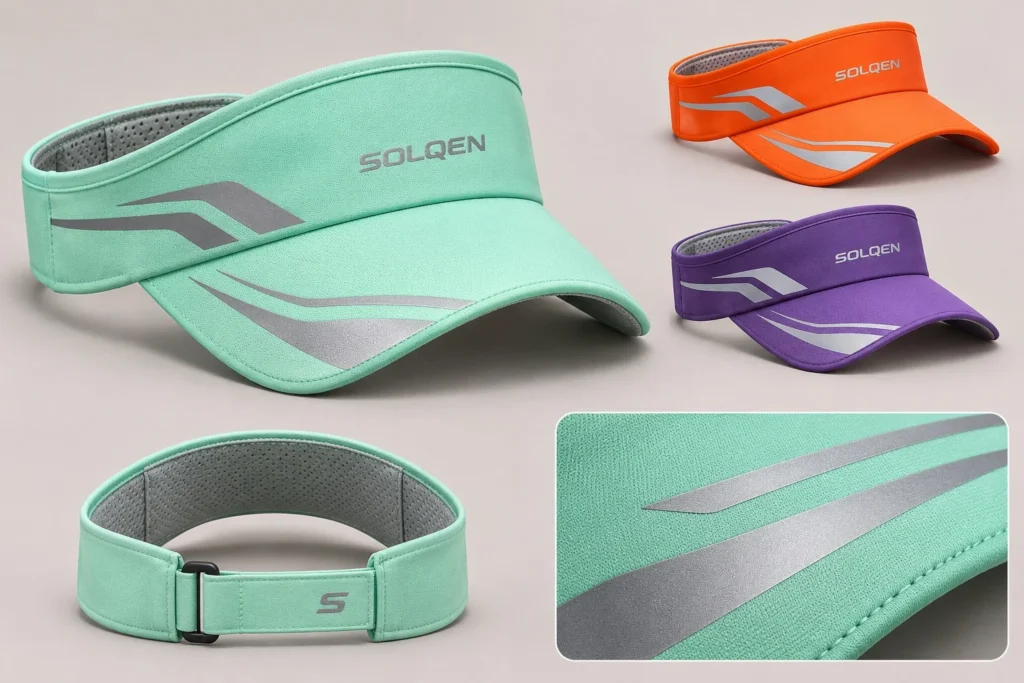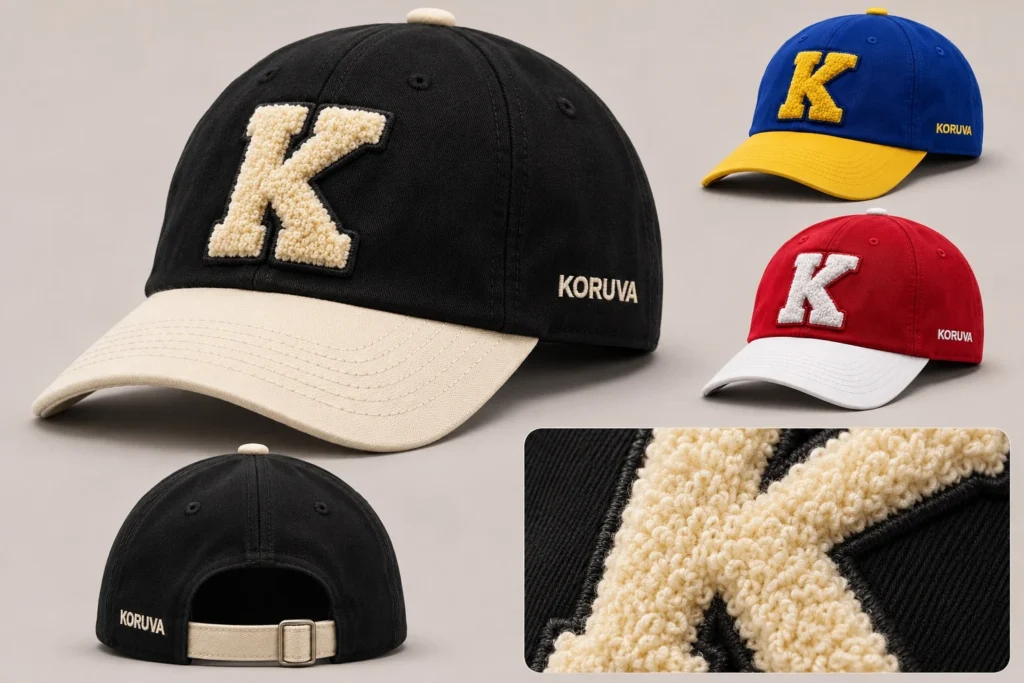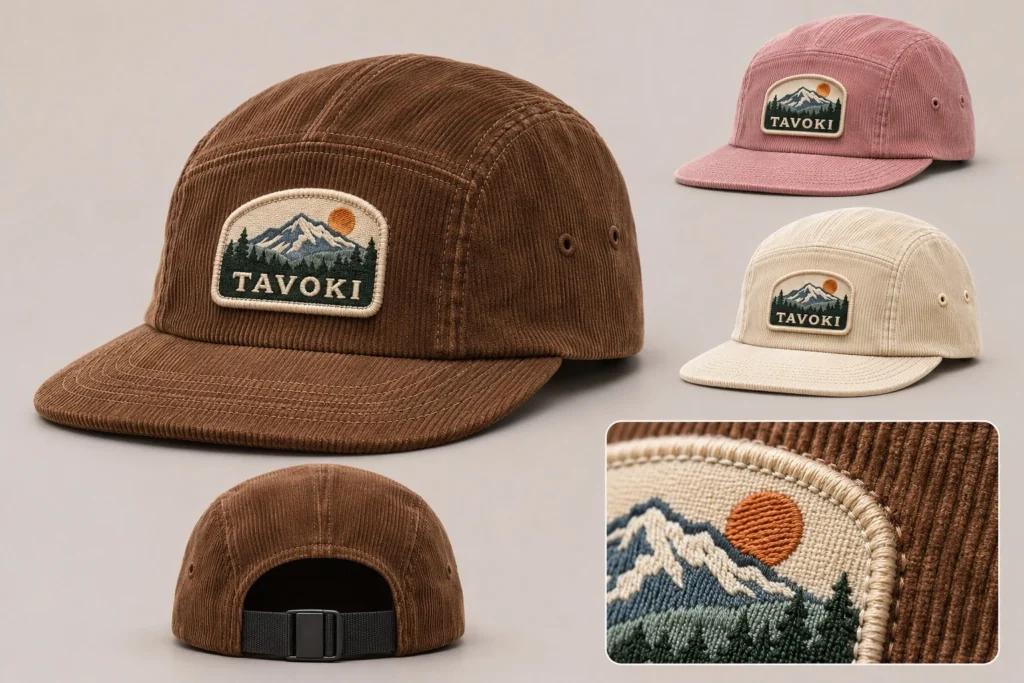
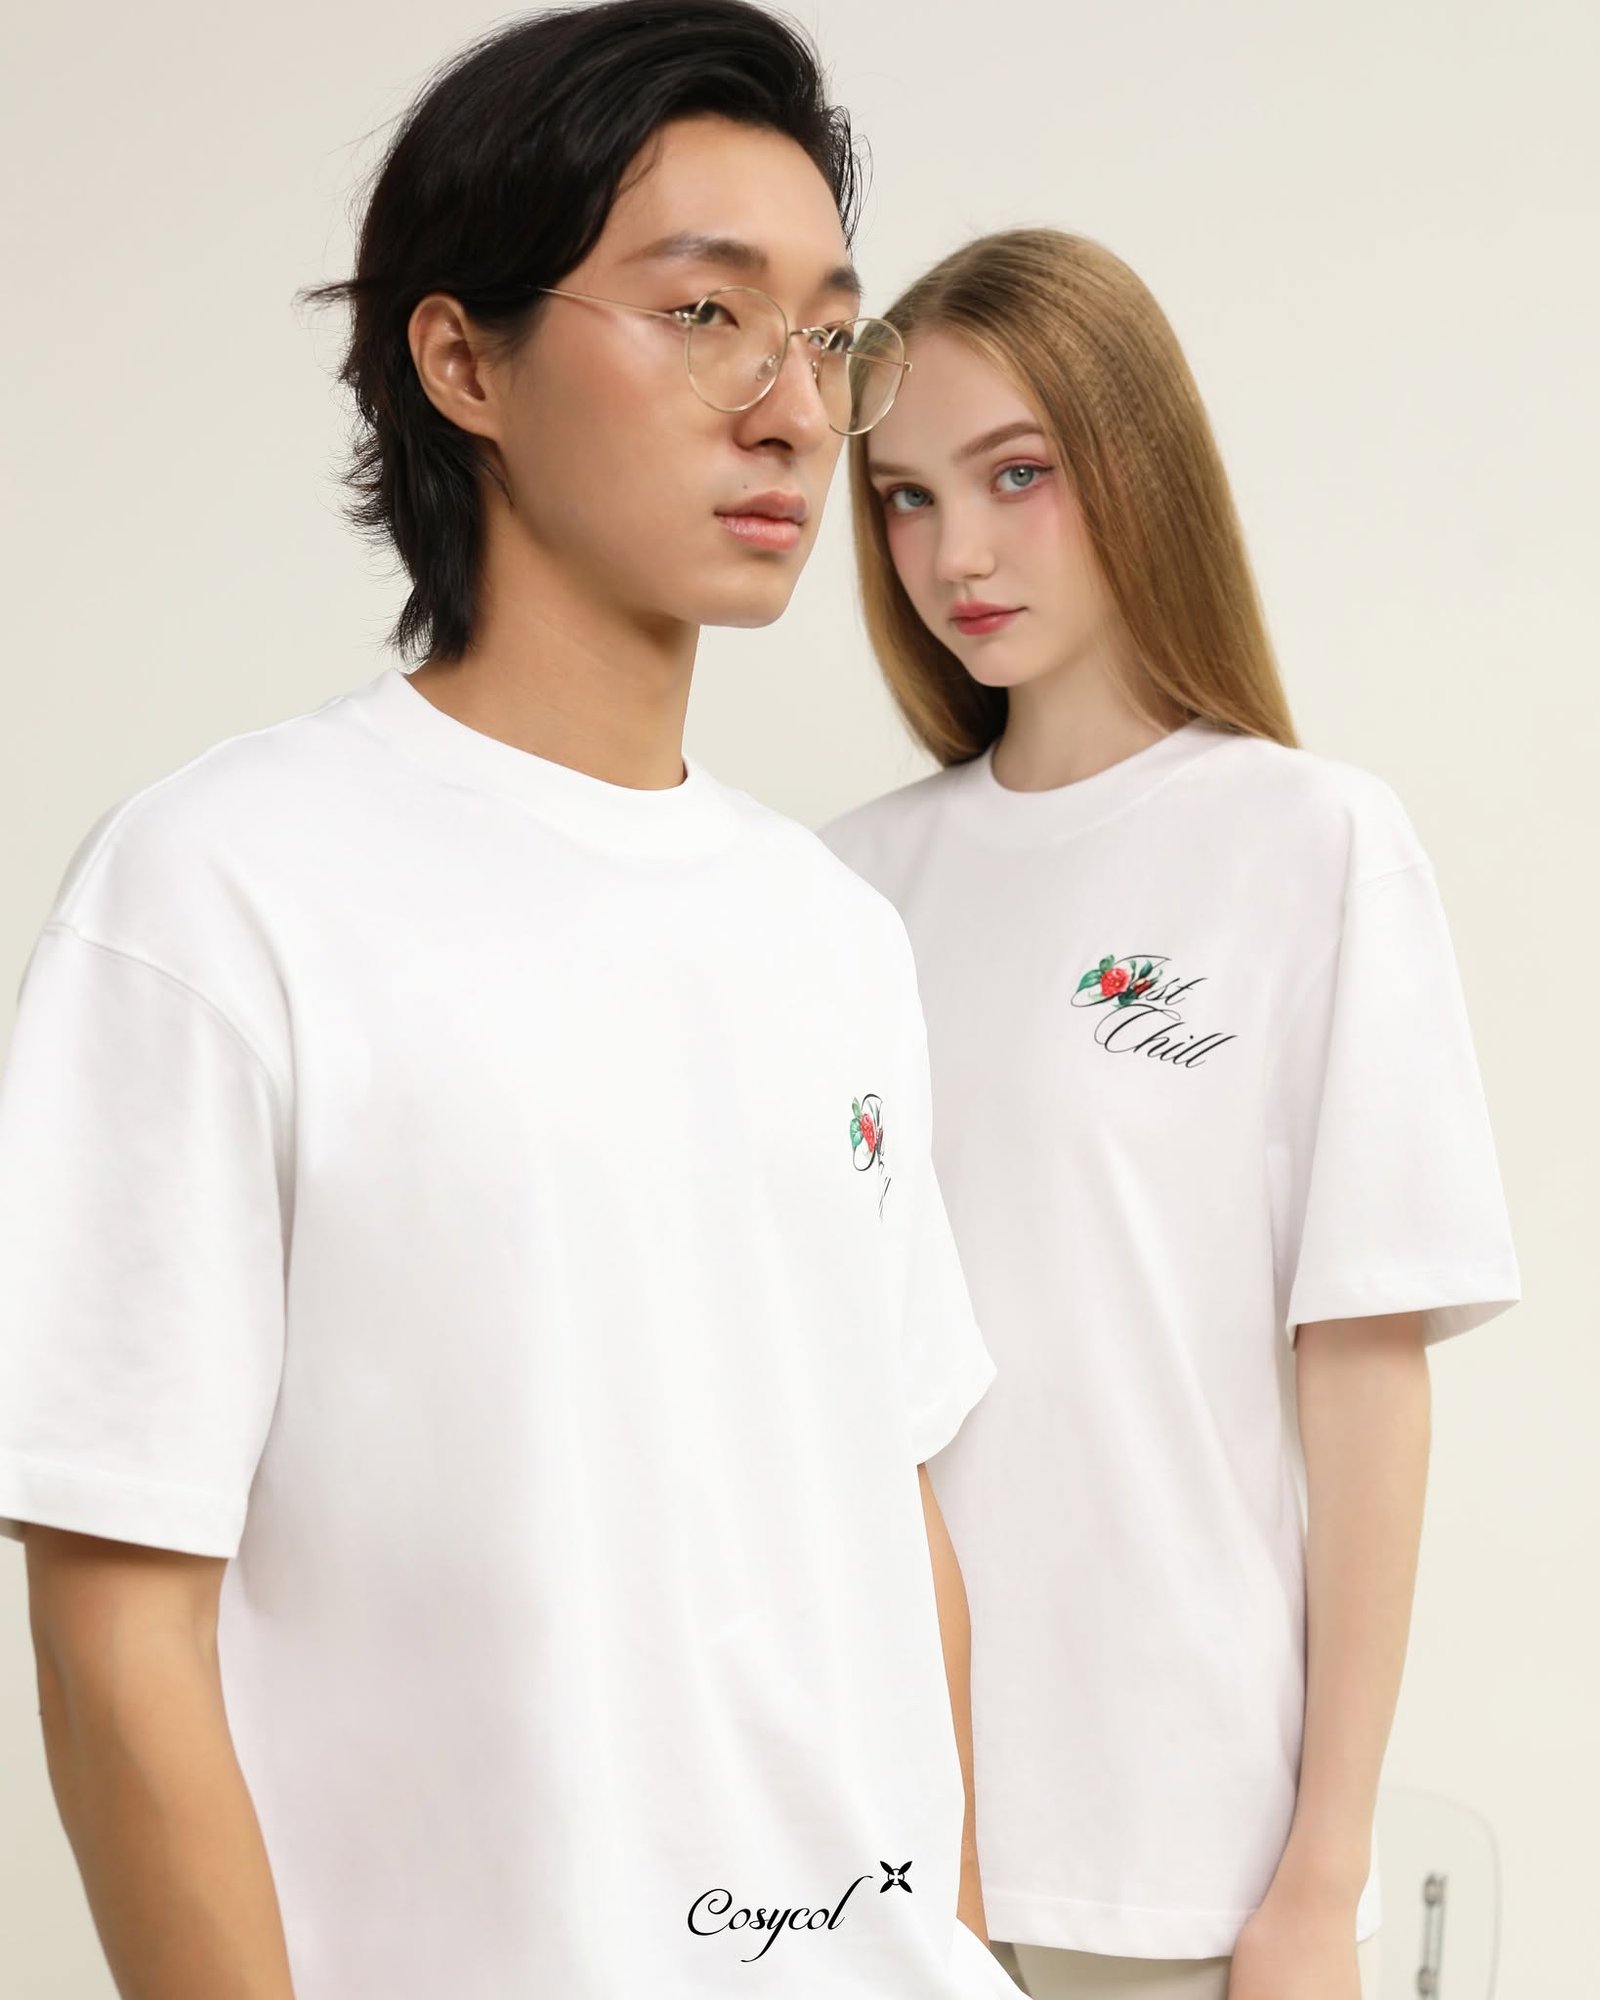
A small chest mark can carry a collection’s identity without dominating the garment. Cosycol’s white studio tees illustrate that restrained approach. For manufacturing, the challenge is making the mark readable, comfortable and consistently placed across garments and sizes.

Define placement with measurements
State the logo’s width and height and draw its position from stable garment seams. Explain how the tee should lie during measurement. A verbal instruction such as “a little higher” is difficult to reproduce in bulk. Check the mark on the smallest body and on a worn base-size sample. Decide whether the placement reference changes across the size range and record any exceptions.
Match detail to the chosen technique
Small lettering, narrow gaps and fine outlines need a trial at actual size. A print sample and an embroidery sew-out answer different production questions. Inspect the final result from normal viewing distance and close up. If a detail becomes unclear, compare an approved simplification or another technique rather than enlarging the mark automatically. Protect the intended restrained proportion while resolving the production limitation.
Inspect comfort as well as appearance
Review the reverse of an embroidered area or the hand of a printed one. A small logo can still create a stiff or uncomfortable spot. Check the surrounding fabric for distortion and review the decorated garment after care. Record the accepted artwork revision, dimensions and process so a repeat order does not begin from an unverified copy of an old digital preview.
A practical development example
Suppose two chest-logo trials have similar appearance but one pulls the jersey into visible ripples. Keep the garment and logo size fixed while the decorator revises the relevant stabilisation or application setup. That gives a useful technical comparison. Changing the body fabric and increasing the logo size simultaneously would make the improvement difficult to interpret.
| Area | Review | Agree |
|---|---|---|
| Position | Mark artwork dimensions and seam offsets. | A repeatable measuring method. |
| Detail | Approve a final-size trial. | Readable features and accepted simplifications. |
| Comfort | Inspect the reverse and surrounding jersey. | Acceptable feel and after-care appearance. |
Does more embroidery stitching always make a better small logo?
No. Madeira identifies digitising, density, backing, hooping and tension as interacting factors. Approve the result on the actual substrate rather than choosing from stitch count alone.
Discuss your T-shirt project with VIENA
Provide the logo file, final dimensions and the intended white tee. Ask VIENA to review production detail and wearer comfort together, especially when comparing print with embroidery. Request a project review.
Related manufacturing guides
- Embroidery on Heavy Cotton T-Shirts: Logo Development
- Embroidery on Fleece Hoodies and Jackets
- Graphic Cotton T-Shirts: Preparing Print Placement
Technical reference
Madeira: embroidery support FAQ. Public guidance supports the discussion; no test result or production specification is inferred for the photographed Cosycol products.