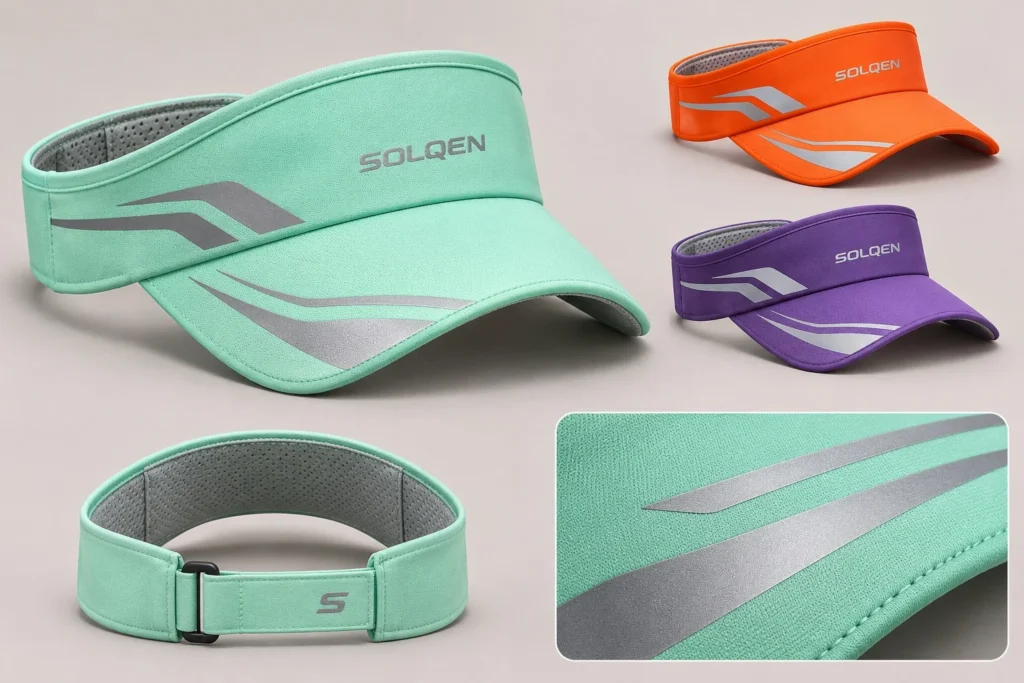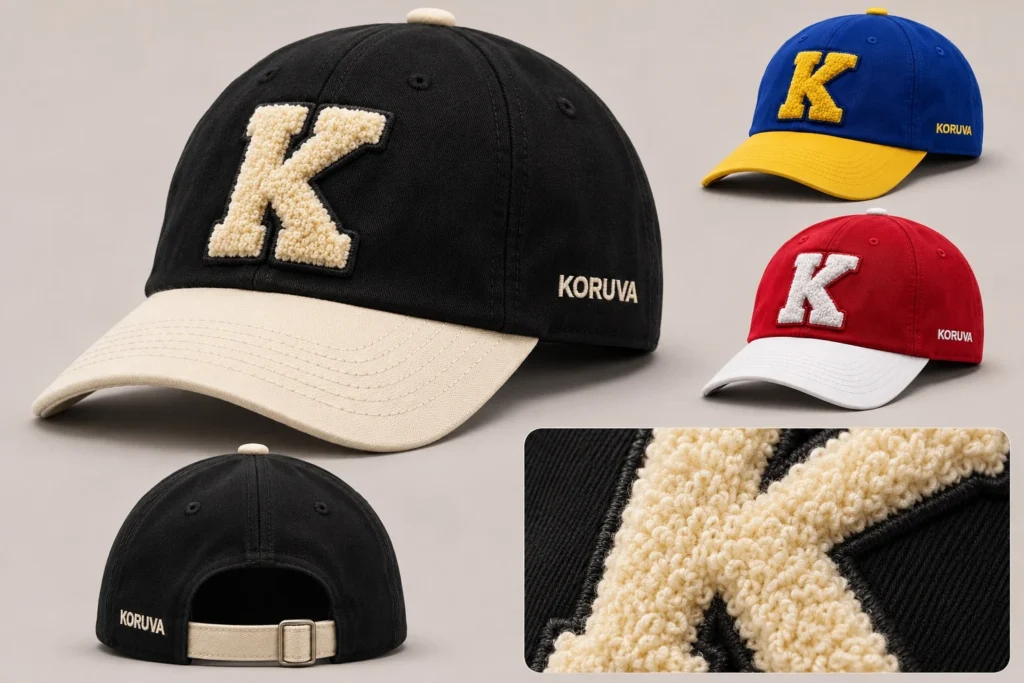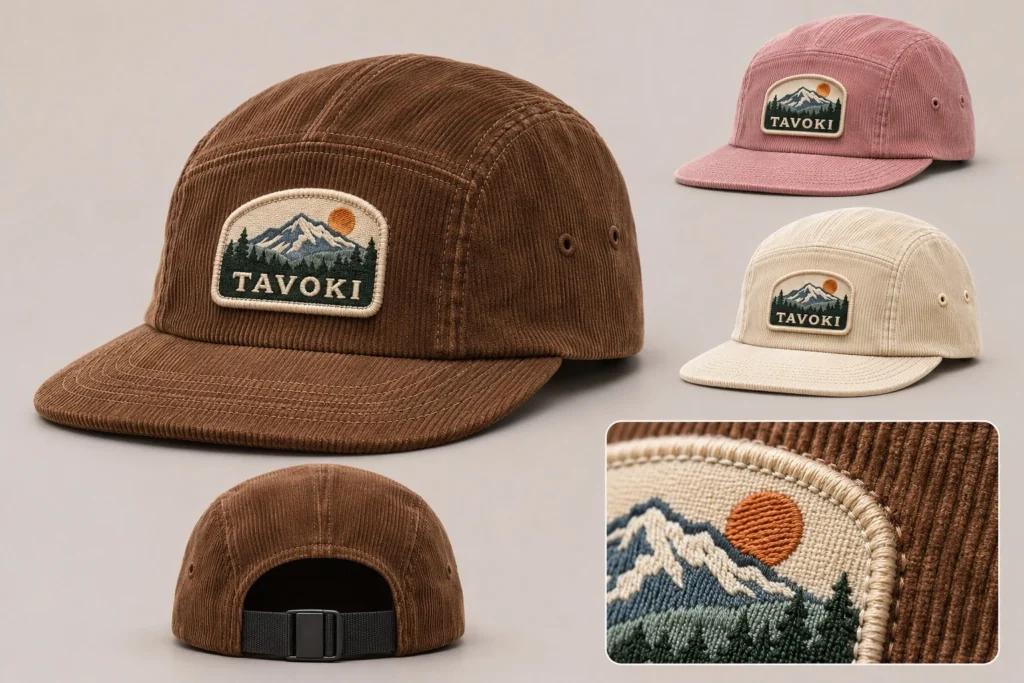

A graphic streetwear tee needs a placement plan as clear as its artwork. For 250–300 GSM cotton T-shirts, settle the body fit and fabric surface before you approve the final print scale with a Vietnam development partner.
Give the printer usable artwork
Supply the intended dimensions, colours and approved file version. Explain whether a distressed edge is intentional or whether the graphic should look clean. A low-resolution reference image may communicate a mood, but ask what production artwork format the selected decoration partner needs.
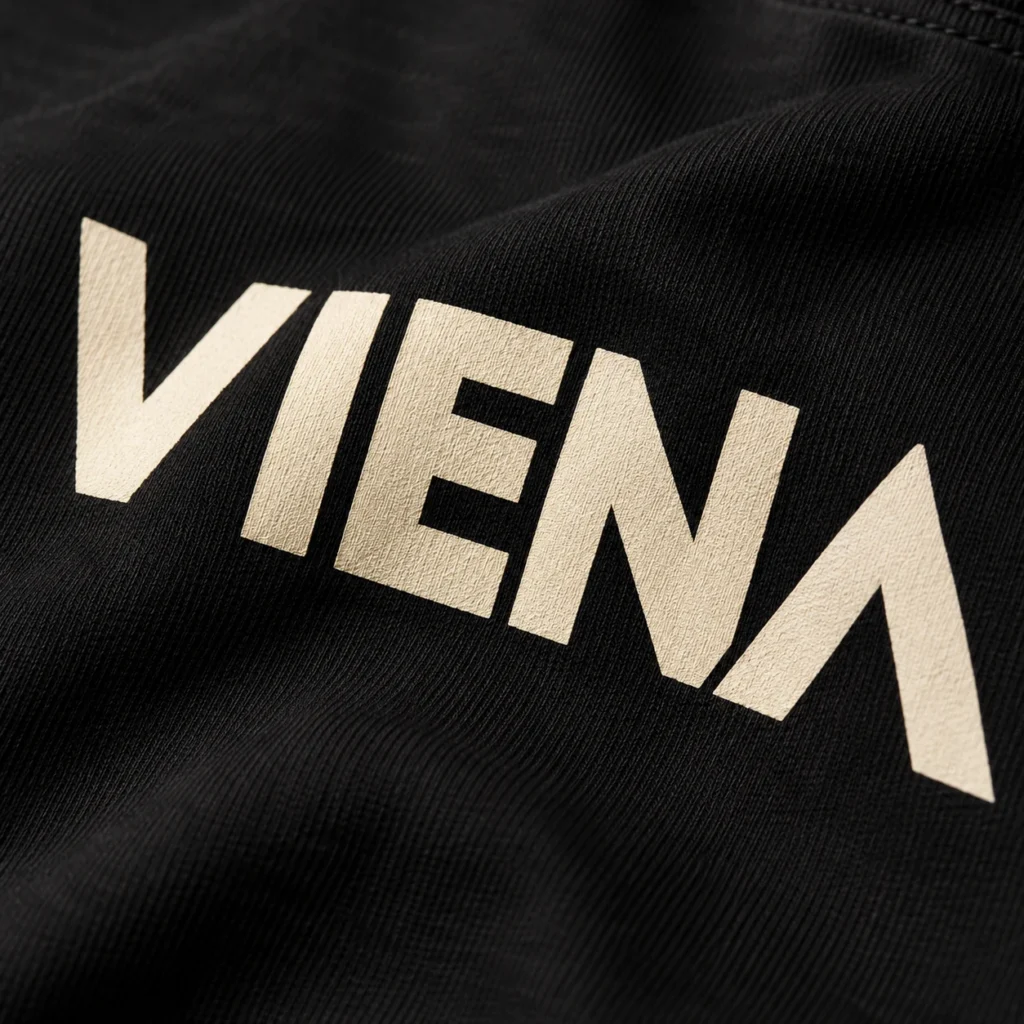
Check artwork on the actual garment
Review front, back and sleeve placements separately. Use a physical mock-up to see how the graphic sits when worn. Decide whether a large back print should be visible around the side of a wide body. Record distances from consistent garment points so placement can be checked.
Approve a decorated sample
The chosen print process should be evaluated on the actual fabric and finish. Inspect appearance, hand feel and the result after agreed care testing. If the sample used a substitute material, identify which parts of the approval remain provisional. Keep a dated artwork and sample record together.
Your development checklist
- Production artwork version and dimensions
- Placement references for each printed area
- A sample in the intended fabric and colour
- Agreed appearance checks after care testing
Should the artwork scale with every garment size?
Decide this deliberately. One graphic size may work across part of the range; other designs need separate placement or scale instructions.
Map artwork to a real garment and size range
Artwork width alone is not a placement instruction. Mark a stable reference such as centre front and a measured distance from the neckline seam, and explain how the tee lies during measurement. A large back print may sit partly under a hood if the tee is styled as a layer. On a boxy block, the same print can appear lower because the body is shorter. Decide whether artwork remains one size or changes across the size range before costing. Physical print approval should use the chosen garment colour because an underbase or the substrate can change the result.
| Decision | What to review | What to agree |
|---|---|---|
| Print dimensions | Provide final width and height with a scale reference. | Approve an actual-size paper or digital placement before a strike-off. |
| Print position | Measure from named seam points on the approved body. | Check smallest and largest offered sizes. |
| Colour and hand | Compare the decorated production fabric against the approved reference. | Request a washed strike-off, not only an image on a monitor. |
Can one large print fit every size?
Sometimes, but review the smallest body and any seam or pocket interference. Cost an additional artwork size only if the visual or construction need justifies it.
Continue your product development
For the next decision, read Screen Printing on Cotton Tees: A Brand’s Approval Guide, compare Halftone Screen Printing: Preparing Trame Artwork, and use Screen Print or DTF? Comparing a Streetwear Graphic to complete the brief.
Discuss the next sample with VIENA FACTORY
Share your product references, target measurements, material preferences and quantity breakdown. VIENA FACTORY develops samples and manufactures clothing in Vietnam through specialised production units, with our team managing the agreed production stages. Send your project brief, or explore our streetwear references and collection development guide.
Reference images illustrate design directions and do not identify products manufactured by VIENA or imply a partnership with the pictured brand. GSM figures in this article are development targets; composition, availability and final specifications require project confirmation.